Showing posts with label butter. Show all posts

Monday, October 6, 2014

Sour cream pie crust

The idea behind this recipe came from the fact that I needed to make pie crust for my apple-cheddar pie and I had leftover sour cream I needed to use.

After doing research on google, I found a recipe on Serena Bakes Simply from Scratch and decided to use her recipe as a base for mine. Check out her wonderful blog for the original recipe and other delicious treats!

Here's how I made mine.


INGREDIENTS (for a double crust):
- 2 1/2 cups of AP flour
- 1 stick of butter, very (very!) cold, diced
- 1/2 cup of sour cream, cold
- 1/4 cup of granulated sugar
- 1/4 cup ice-cold water
- a large pinch of salt


RECIPE:
- in a large bowl, mix all the dry ingredients, the butter and incorporate the butter quickly with your fingers or a pastry cutter until the flour looks like fresh bread crumbs and the butter is the size of a green pea

Note: you want to work really quickly here, with very cold butter. The butter should stay solid as much as possible so that those little nuggets can melt when the crust bakes. That will ensure a flaky crust!
- add the cold sour cream and mix with a spatula

- add ice-cold water by the spoonful (not all at once!) until the dough can hold when pressed together
Note: the dough should not be sticky here. You just want enough water so you can form a ball.

- shape the dough into two discs, wrap them in plastic and refrigerate at least one hour or until ready to use

Note: you can absolutely freeze the dough at this point
Note 2: if you will use this batch for a double-crusted pie, make one of the two discs slightly larger than the other one (the top disc should be a bit bigger)
- after the dough has rested, roll out on a floured surface and make your favorite pie!


Monday, November 4, 2013

Tarte Tatin (Upside down apple pie)

This famous French upside-down apple pie is not only delicious, but extremely easy to make! The best thing about it is that you cannot mess it up, because it already is "messed up" pie!

The legend says that one day, the Tatin sisters were busy cooking in their kitchen and one of the sisters forgot to put the dough before the apples in her pie. Realizing that she had started to bake a crust-less pie, she lay the crust on top of the apples mid-baking and turned it upside down to serve it :)

Serendipity right there if you ask me! The penicillin of desserts.

I am not a sweet tooth by any means, and would much rather end a meal on cheese. But put a warm slice of Tarte Tatin in front of me, with a dollop of cold creme fraiche (no vanilla ice-cream nonsense for me!), and I'll sell my soul to the Devil.

Here's how you can make this amazing and universally appreciated dessert.


INGREDIENTS:
- 1/2 quantity of pie crust (see a similar recipe here, just omit the lemon zest)
- 1/2 stick of butter
- 3/4 cup granulated sugar
- 6-8 apples, depending on their size and how packed you want the apple pattern to be when you turn it upside down (I ended up using 7 medium Honeycrisp apples; Golden delicious are good too)


RECIPE:
- preheat your oven at 375F
- on a lightly floured surface, roll out the dough to the size of the dish you will be baking the pie in

- in a cast iron skillet, melt the butter and sugar until frothy

Note: if you want your apples to come out a little darker, you can wait until the first stage of caramel, but do not overcook the caramel at this stage, since it will continue to cook in the oven and might result in a burnt-tasting bitter pie
- peel, core and half the apples, add them cut side up in the skillet and cover with the dough, making sure to tuck the extra bits!

- transfer the skillet to the oven and bake for 30-45 minutes, or until the crust is lightly golden

- let it cool a few minutes before turning the pie upside down on a serving plate

Note: mine was not as sticky as I would have liked it. The caramel was not thick enough for my taste and I should have let it cool down longer in the oven, turned off with the door propped open. It was still delicious though!
- serve warm, with a dollop of creme fraiche or sour cream on top


Heavenly.

Monday, October 21, 2013

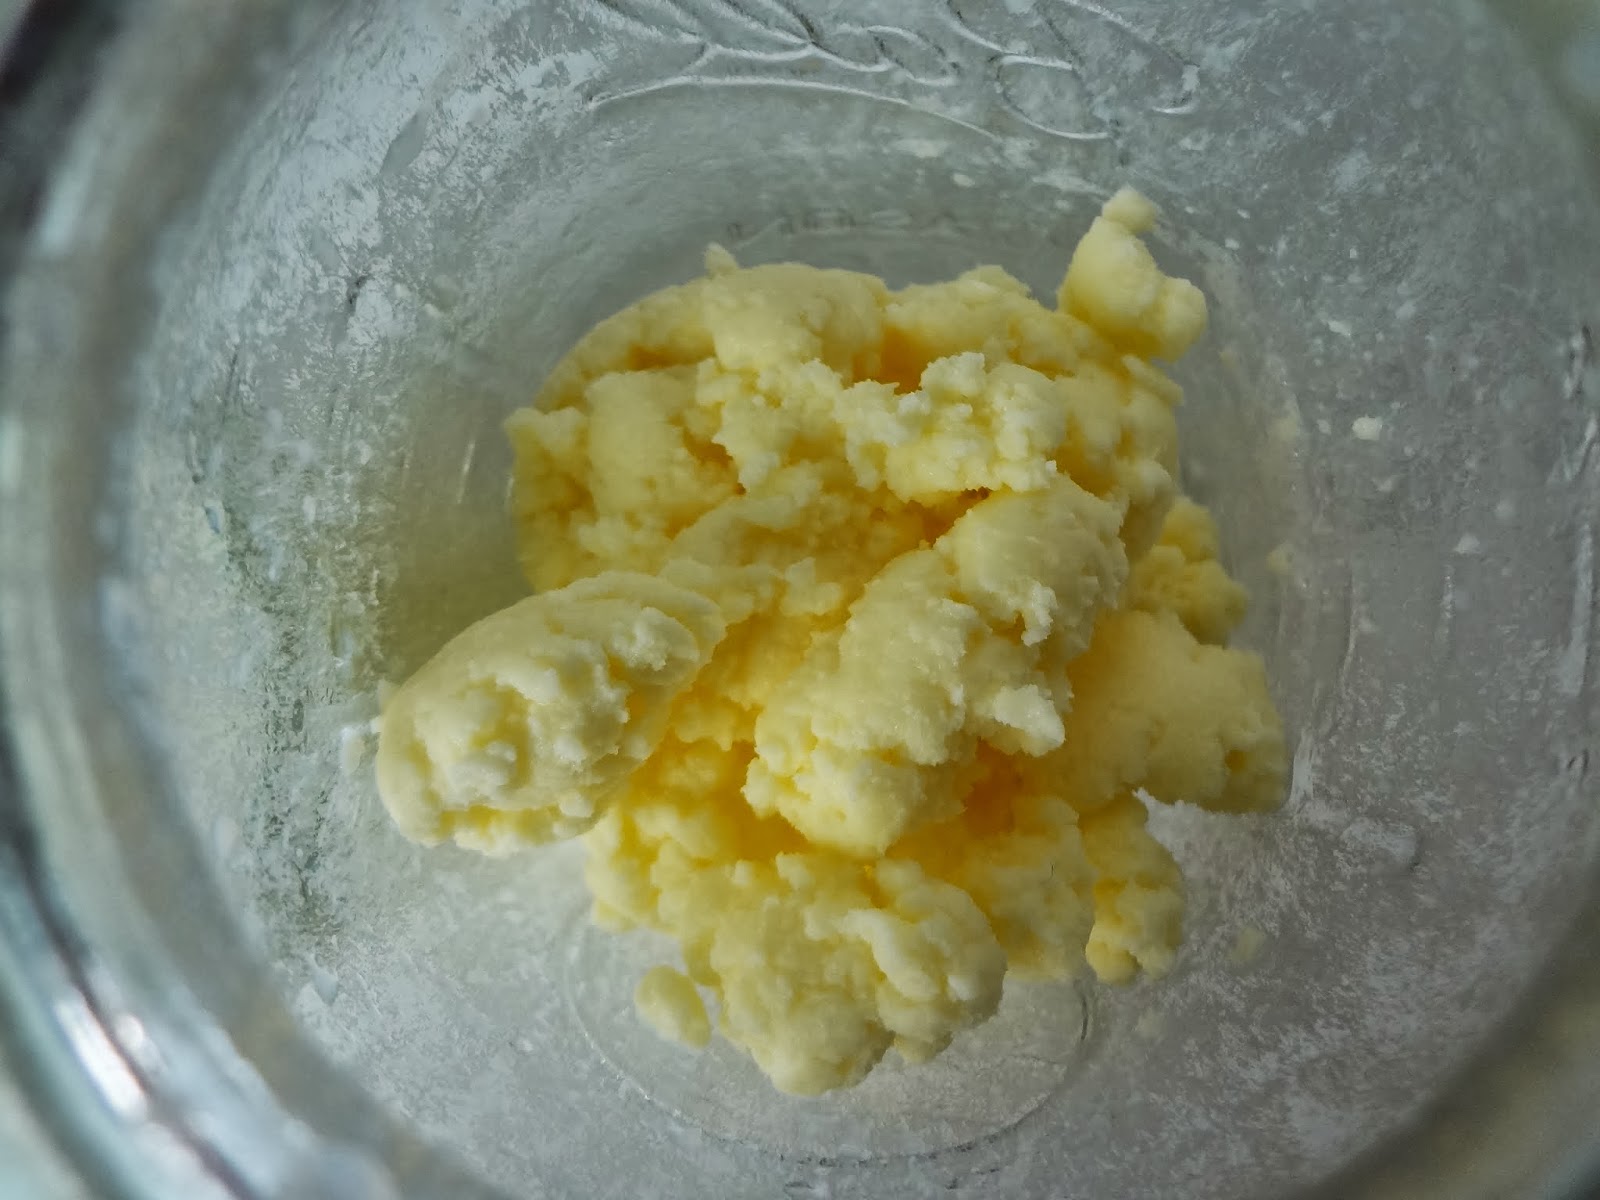
Homemade butter

I don't know how to convey the pleasure you will have making your own, fresh butter...

First of all, it's FUN! Well, I guess if you're as much of a cooking dork as I am. Second, it tastes orders of magnitude better than the cheapo butter you can find in supermarkets.

It has a very distinct creamy flavor and you can really play with the intensity by varying the number of washing steps to remove the buttermilk from the fresh butter. Also depending on the cream you purchase to make your butter, you will have a different taste in your final product.

One of the most important things to remember when you are making your own butter though is to use a cream with a HIGH fat content. Low fat, half-n-half, light cream are no-go. In stead, use heavy cream, whipping cream, creme fraiche and although I haven't tried yet,  I'm sure it'd work with sour cream too. I'll try and let you know soon! And if you have tried with sour cream, please leave me a comment and let me know how it turned out!


INGREDIENTS:
- heavy cream, cold
- an electric beater (I used my stand mixer, but a large bowl and a hand electric mixer work fine; Elbow grease works too if you feel like an extended upper body work out :) )


RECIPE:
- put the cold cream in a large bowl and beat until whipped cream (Chantilly) consistency

- when you reach soft peaks, continue to beat vigorously until it becomes a bit grainier

- and then beat some more! the cream will become yellower and wetter: the buttermilk has then started to separate from the butter itself. When you hear sloshing noises (or can see a puddle of liquid), you are done beating

- transfer the butter and buttermilk to a mason jar (or any container with a lid - a tupperware will work too), close the lid and shake, shake, shake! This will finish to separate the butter and buttermilk

- transfer the buttermilk to another container (you can use this in pancakes, cupcakes, or any recipe that calls for milk/buttermilk) and rinse the butter with ice-cold water until the water is clear (use the same shaking method)

Note: cold is important, because you want to keep the butter cold
- at this stage, your butter is ready. Since it is rather soft, you can flavor your butter now with fresh herbs, spices, or just plain salt like I did. Mix well and transfer butter into your serving dish

Note: you can also roll the butter into a log, wrap it into saran wrap and refrigerate (this will make it easier to cut into slices later)
- This butter is delicious on fresh or grilled bread and can be used for cooking and baking.

- Enjoy!

Sunday, August 4, 2013

Himalayan salt block seared scallops and buttered garlic spinach

I haven't been this excited since the arrival of Piotr the Kitchenaid!

A couple of months ago, I got a super duper dorky-cool himalayan salt block for my birthday and I'm christening it today!

I decided to celebrate the awesomeness of owning such a cool gadget with seared scallops and buttered garlic spinach.

Enjoy!


INGREDIENTS (for 1 very excited kitchen dork):
- 5 scallops
- a splash of olive oil
- a handful of fresh spinach
- 1 tbsp butter
- 1 crushed garlic clove
- pepper to taste
- a cooking grade salt block
- NO EXTRA SALT


RECIPE:
- gradually heat your salt block on a gas stove (20 minutes on low, 20 minutes on medium, 40 minutes on high)

- it is normal at this point to observe discoloration of the salt block

- pat dry the scallops and lightly brush with olive oil and sear on the hot salt block (about 5-7 minutes per side), reserve on the side

- melt the butter on the block and deglaze as much caramelized juices as possible before adding the spinach and as soon as it begins to wilt, add the garlic and toss

- serve the scallops on a bed of spinach and add pepper to taste

- Bon appetit!