Showing posts with label fun. Show all posts

Friday, March 28, 2014

Lemon-raspberry funfetti cupcakes

Those cupcakes are so cute and delicious!

The perfect fruity combination of tangy lemon and fresh raspberries, topped with a light cream cheese frosting and fun multicolored sprinkles make for the ultimate party cupcakes.

Making these cupcakes will make you and anyone who eats them a happy happy bunny!


INGREDIENTS (24 cupcakes)
for the cream cheese frosting
- 2 lbs confectioner sugar
- 2 x 8 oz packages of cream cheese
- 2 tbsp vanilla extract
- juice of 1 lemon
- 1 stick of butter, softened at room temperature

for the cupcakes
- 2 1/4 cups of AP flour
- 1 tbsp baking powder
- 1/2 tsp salt
- 1 1/2 cup sugar
- 1 cup butter, softened at room temperature
- 2 eggs
- 2 tsp vanilla extract
- 1/2 cup sour cream
- 1/2 cup water
- 1/2 cup lemon juice
- zest of two lemons
- 1 cup fresh raspberries
- multicolored sprinkles


RECIPE:
start with the cupcake batter
- preheat your oven at 375F
- in the bowl of a standing mixer with the paddle attachment add the flour, baking powder, salt and sugar

- mix in the butter, sour cream, water and lemon juice

- add the two eggs one at a time until smooth, add the lemon zest and vanilla then gently fold in the fresh raspberries

- line a cupcake tray with paper liners and fill 2/3 up with batter

- bake at 375F for 20 minutes until soft and lightly springy to the touch

- let cool completely before frosting
prepare the frosting
- while the cupcakes are cooling down, cream the room temperature cream cheese with the butter, lemon juice and vanilla until blended

- add the confectioner sugar 1/4 cup at a time, until all mixed in and smooth

- fill a piping bag with the frosting (or a freezer bag of which you cut a corner), and gently frost each cupcake in the pattern you like

Note: to help with filling the frosting in the piping bag neatly, place the bag in a tall glass and spoon the frosting in
- top your frosted cupcakes with multicolored sprinkles and enjoy!!


Monday, October 21, 2013

Homemade butter

I don't know how to convey the pleasure you will have making your own, fresh butter...

First of all, it's FUN! Well, I guess if you're as much of a cooking dork as I am. Second, it tastes orders of magnitude better than the cheapo butter you can find in supermarkets.

It has a very distinct creamy flavor and you can really play with the intensity by varying the number of washing steps to remove the buttermilk from the fresh butter. Also depending on the cream you purchase to make your butter, you will have a different taste in your final product.

One of the most important things to remember when you are making your own butter though is to use a cream with a HIGH fat content. Low fat, half-n-half, light cream are no-go. In stead, use heavy cream, whipping cream, creme fraiche and although I haven't tried yet,  I'm sure it'd work with sour cream too. I'll try and let you know soon! And if you have tried with sour cream, please leave me a comment and let me know how it turned out!


INGREDIENTS:
- heavy cream, cold
- an electric beater (I used my stand mixer, but a large bowl and a hand electric mixer work fine; Elbow grease works too if you feel like an extended upper body work out :) )


RECIPE:
- put the cold cream in a large bowl and beat until whipped cream (Chantilly) consistency

- when you reach soft peaks, continue to beat vigorously until it becomes a bit grainier

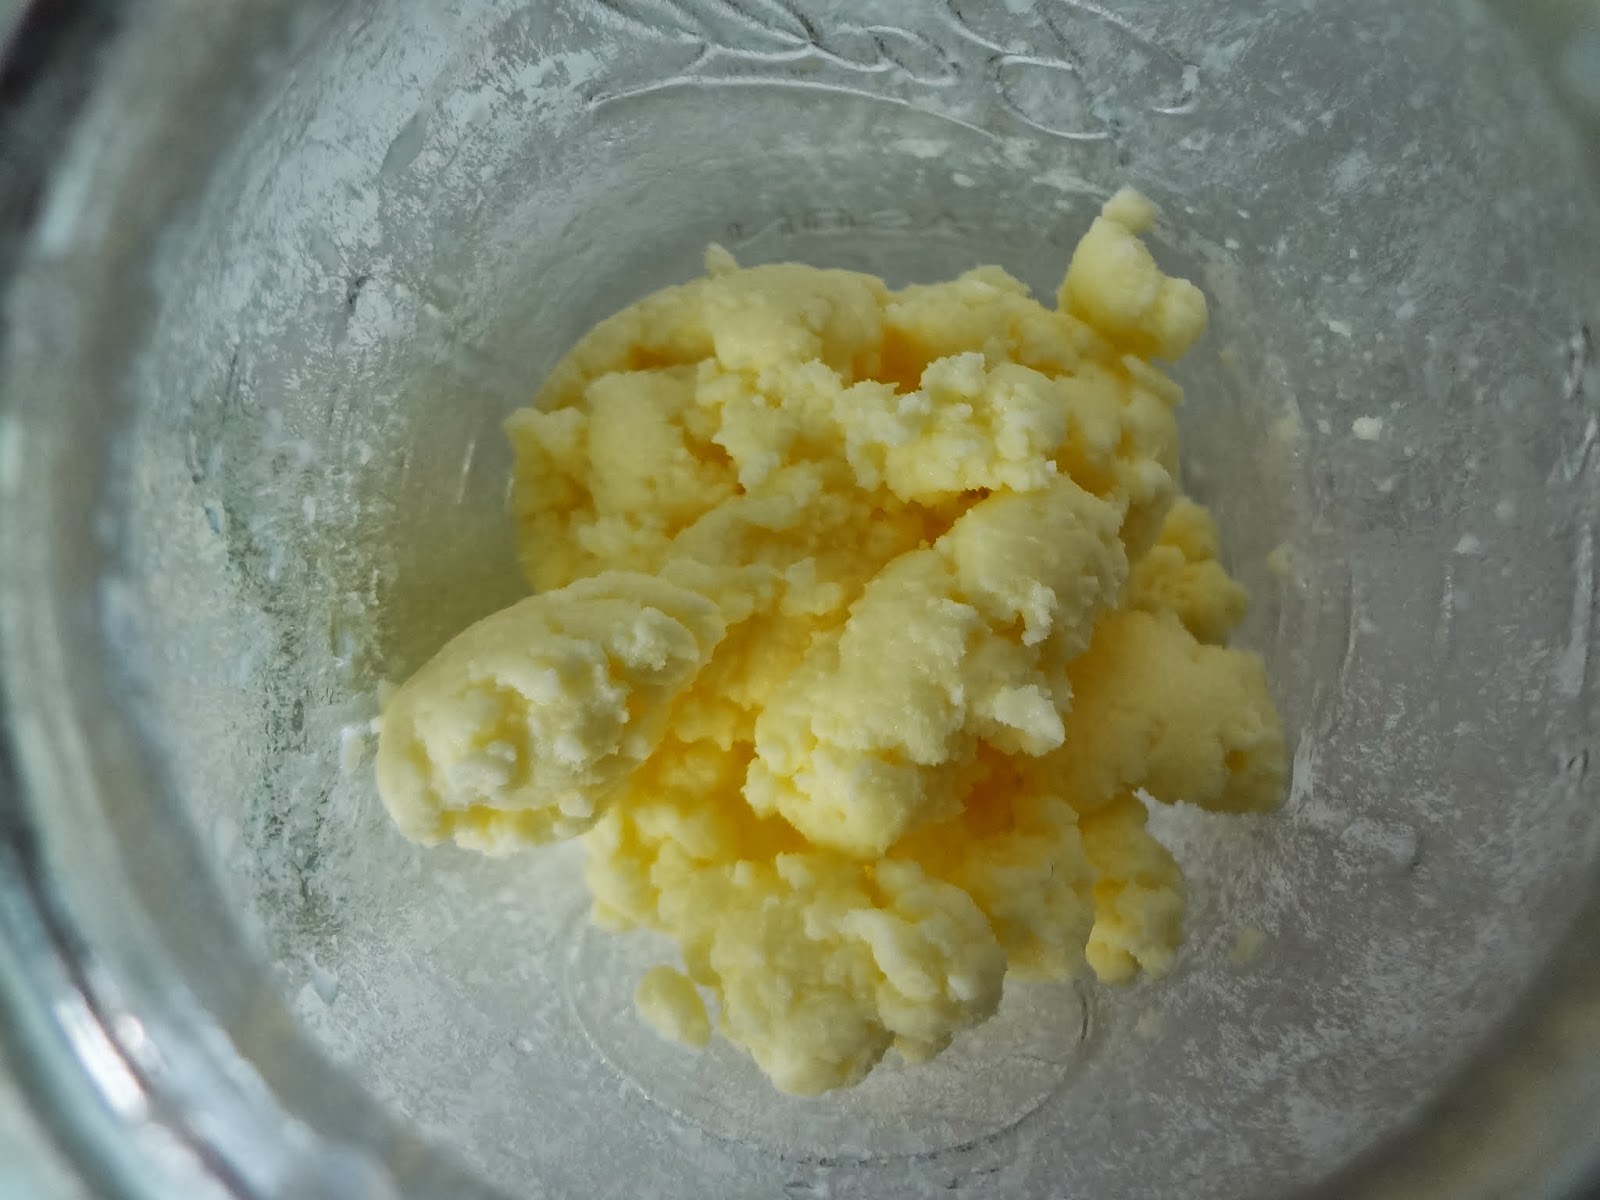
- and then beat some more! the cream will become yellower and wetter: the buttermilk has then started to separate from the butter itself. When you hear sloshing noises (or can see a puddle of liquid), you are done beating

- transfer the butter and buttermilk to a mason jar (or any container with a lid - a tupperware will work too), close the lid and shake, shake, shake! This will finish to separate the butter and buttermilk

- transfer the buttermilk to another container (you can use this in pancakes, cupcakes, or any recipe that calls for milk/buttermilk) and rinse the butter with ice-cold water until the water is clear (use the same shaking method)

Note: cold is important, because you want to keep the butter cold
- at this stage, your butter is ready. Since it is rather soft, you can flavor your butter now with fresh herbs, spices, or just plain salt like I did. Mix well and transfer butter into your serving dish

Note: you can also roll the butter into a log, wrap it into saran wrap and refrigerate (this will make it easier to cut into slices later)
- This butter is delicious on fresh or grilled bread and can be used for cooking and baking.

- Enjoy!